-
Shop
- Advanced Technologies
- AI Skills
- AI Skills Mastery 2026 Collection
- Bathroom
- Best-Sellers
- Car Accessories
- Car Buying & Ownership
- Confidence
- Dating & Social Skills
- Digital Resources
- Education & Learning
- Family & Parenting
- Fashion
- Alexander McQueen
- Bags
- Bags & Wallets
- Balenciaga
- Belts
- Blazers
- Blouses & Shirts
- Bottega Veneta
- Bottoms
- Brunello Cucinelli
- Burberry
- Chanel
- Chloé
- Clothing
- Dior
- Dolce & Gabbana
- Dresses
- Etro
- Fendi
- Gucci
- Hats & Hair Accessories
- Jacquemus
- Jewelry
- Jil Sander
- Keychains
- Kiton
- Luggage
- Luggage Bags
- Miu Miu
- Off-White
- Outerwear
- Prada
- Rick Owens
- Saint Laurent
- Scarves
- Shoes
- Socks & Tights
- The Row
- Tom Ford
- Valentino
- Valentino Garavani
- Versace
- Vivienne Westwood
- Watches
- Fashion Accessories
- Furniture
- Gadgets
- Health & Beauty
- Health & Wellness
- Home & Garden
- Home Decor
- Home Electronics
- Home Supplies
- Kids & Babies
- Kitchen Best-Sellers
- Lighting
- Patio, Lawn & Garden
- Personal Growth
- Pet Care
- Pet Supplies
- Pets
- Sport & Outdoors
- Super Deals
- Travel
- Travel & Adventure
- Wealth
How to Knit a Beginner Scarf: Easy Garter Stitch
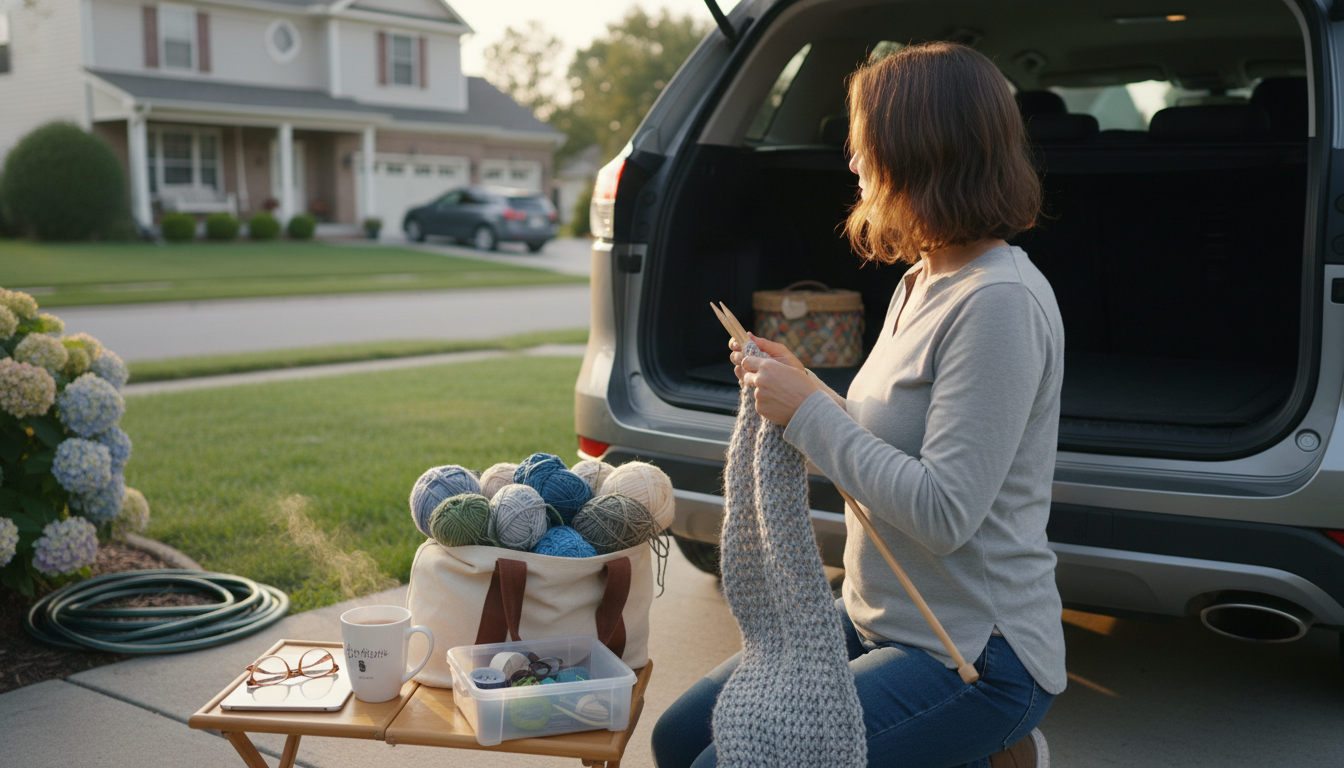
How to knit a scarf for beginners
Knitting your first scarf is a practical way to learn the basics without worrying about shaping. Pick a chunky yarn and matching needles so you can see your stitches clearly and make fast progress. A simple garter-stitch scarf (knit every row) creates a cozy, stretchy fabric that lies flat and forgives small mistakes.
What you need
Grab medium-to-bulky yarn (a smooth, light-colored yarn helps you spot stitches), appropriately sized needles (often US 9–11 for bulky yarn—check the label), scissors, a tapestry needle for weaving ends, and a measuring tape. If possible, choose a yarn that isn’t overly fuzzy; it’s easier to undo and redo when you’re learning.
Step-by-step: a basic garter-stitch scarf
1) Make a slip knot and cast on about 20–30 stitches for a beginner-friendly width (adjust for thicker/thinner yarn). 2) Knit every stitch across the first row. 3) Turn your work and knit every stitch again—repeat this same row until the scarf reaches your preferred length (commonly 60–70 inches). 4) Bind off loosely so the end doesn’t pucker. 5) Use a tapestry needle to weave in the yarn tails on the wrong side, then trim.
Beginner tips that prevent common issues
If your edges look uneven, try inserting the needle into the first stitch the same way each row and gently snugging the yarn after the first two stitches. If the scarf narrows, you may be accidentally dropping stitches; count occasionally and look for a missing “V” along the edge. If it flares wider, you may be adding stitches by knitting into the strand between stitches—watch for extra loops on the needle.
For photos, yarn/needle suggestions, and a more detailed walkthrough, follow the full guide here: How to Knit a Scarf for Beginners.
FAQ
How many stitches should I cast on for a scarf?
Cast on enough stitches to match your desired width—about 20–30 stitches is a common starting point with bulky yarn. For thinner yarn, you’ll usually need more stitches to reach the same width.
Recommended for you


Was this article helpful?
Yes
No








Leave a comment